
Last updated
20200629
Article type
Step-by-step
Applies to
Starter, Business, Pro-Marketer
Special contents
n/a
Details
What Does the Integration Do?
Our integration with Facebook Business Manager lets you target users in your Contacts database, with ads on Facebook and on the Facebook advertising network.
As an example, you may have recently sent an EOFY sale email to your contacts – but you can then also serve ads to the same contacts on Facebook, in order to boost the success of your campaign.
Facebook performs contact-matching via email address – so if a contact is subscribed to your email list using their work email address, but they log into Facebook using their personal email address, then they will not be matched – as Facebook wouldn’t know it’s the same person.
Audience Size Limitations
If the ad or ad-set has an audience of fewer than 1,000 email-matched contacts on Facebook, the ad will not run. As such, it is generally only worth setting up the Facebook Business Manager integration if you have more than 1,500 (or so) contacts on your list.
Remember that not everyone on your contact list uses Facebook, and that not everyone uses Facebook with the same email address you may have on file for them. As an example, let’s say you have 1,000 contacts on your list, but it turns out that only 700 of them use Facebook (or use Facebook under the same email), resulting in an audience that is too small for Facebook & thus, your ads will not run.
How-to Guide
- Select Integrations from the sidebar.
- Locate our Facebook Business integration and click Connect.
- Click Create a Custom Audience. A popup window will appear.
- You will now need to log into the Facebook account that’s attached to Facebook Business Manager. Confirm your details and the account to log into.
- When prompted whether you wish to link your account with Facebook to manage your ads, set the option to Yes and click Done, then OK. The popup window will now close.

- Back in our platform, use the dropdown to select which Facebook Business Account you’d like to connect to our platform.
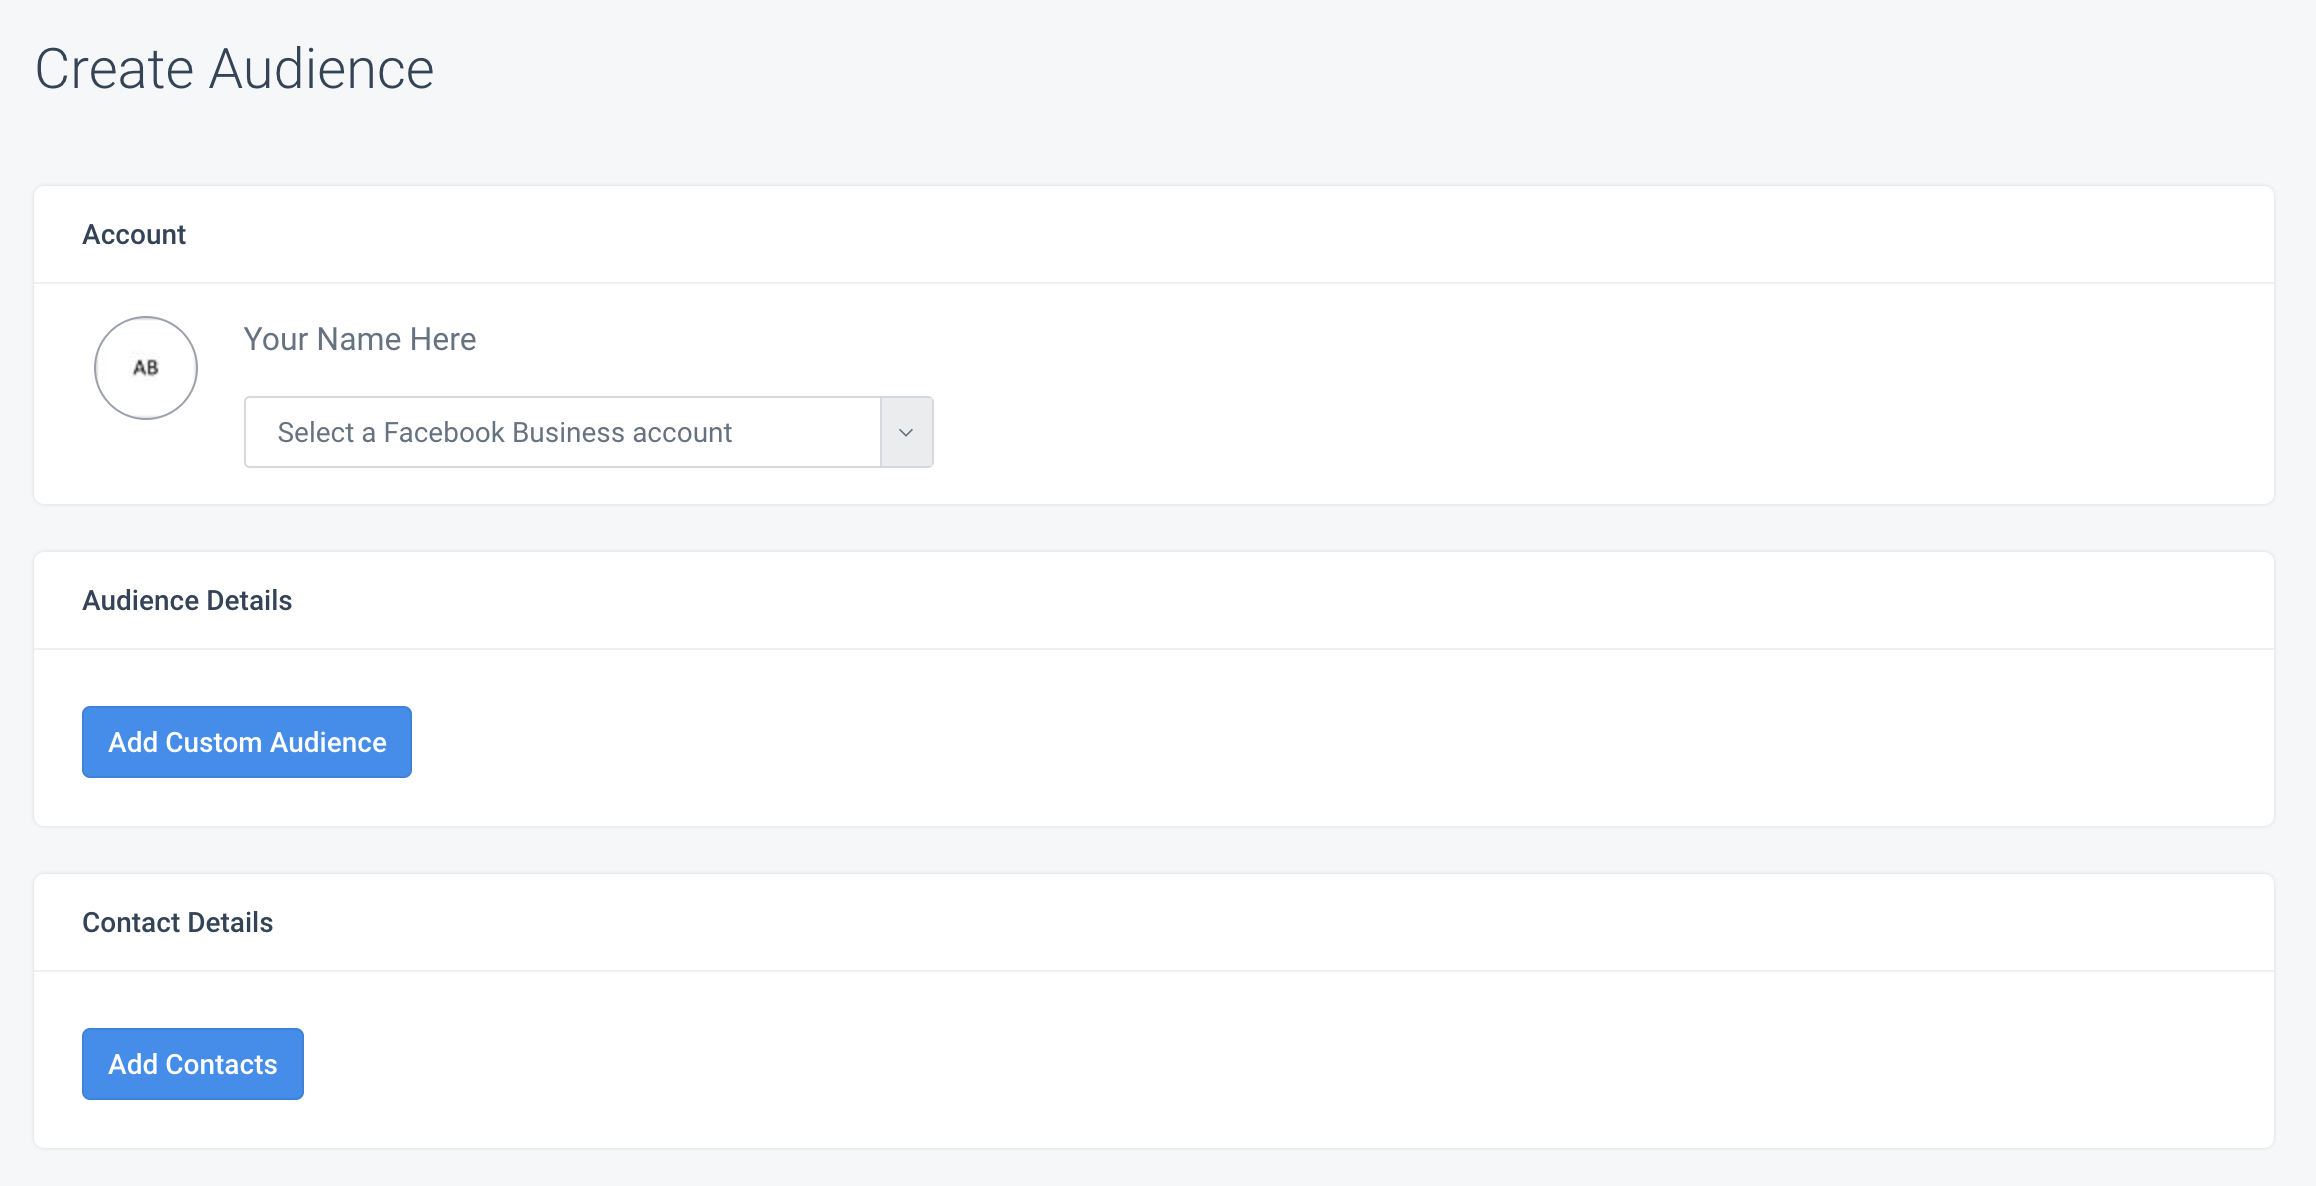
- Next, click Add Custom Audience.
- Give your audience a name – this name will be visible in your Facebook Audience Manager. For example, “Contacts from Email Marketing Platform”.
- Select the contact source using the appropriate option from the radio buttons provided.
- Add a description, if desired.
- Click Save Custom Audience.
- Next, we need to tell the system which contacts to send to Facebook. Click Add Contacts.
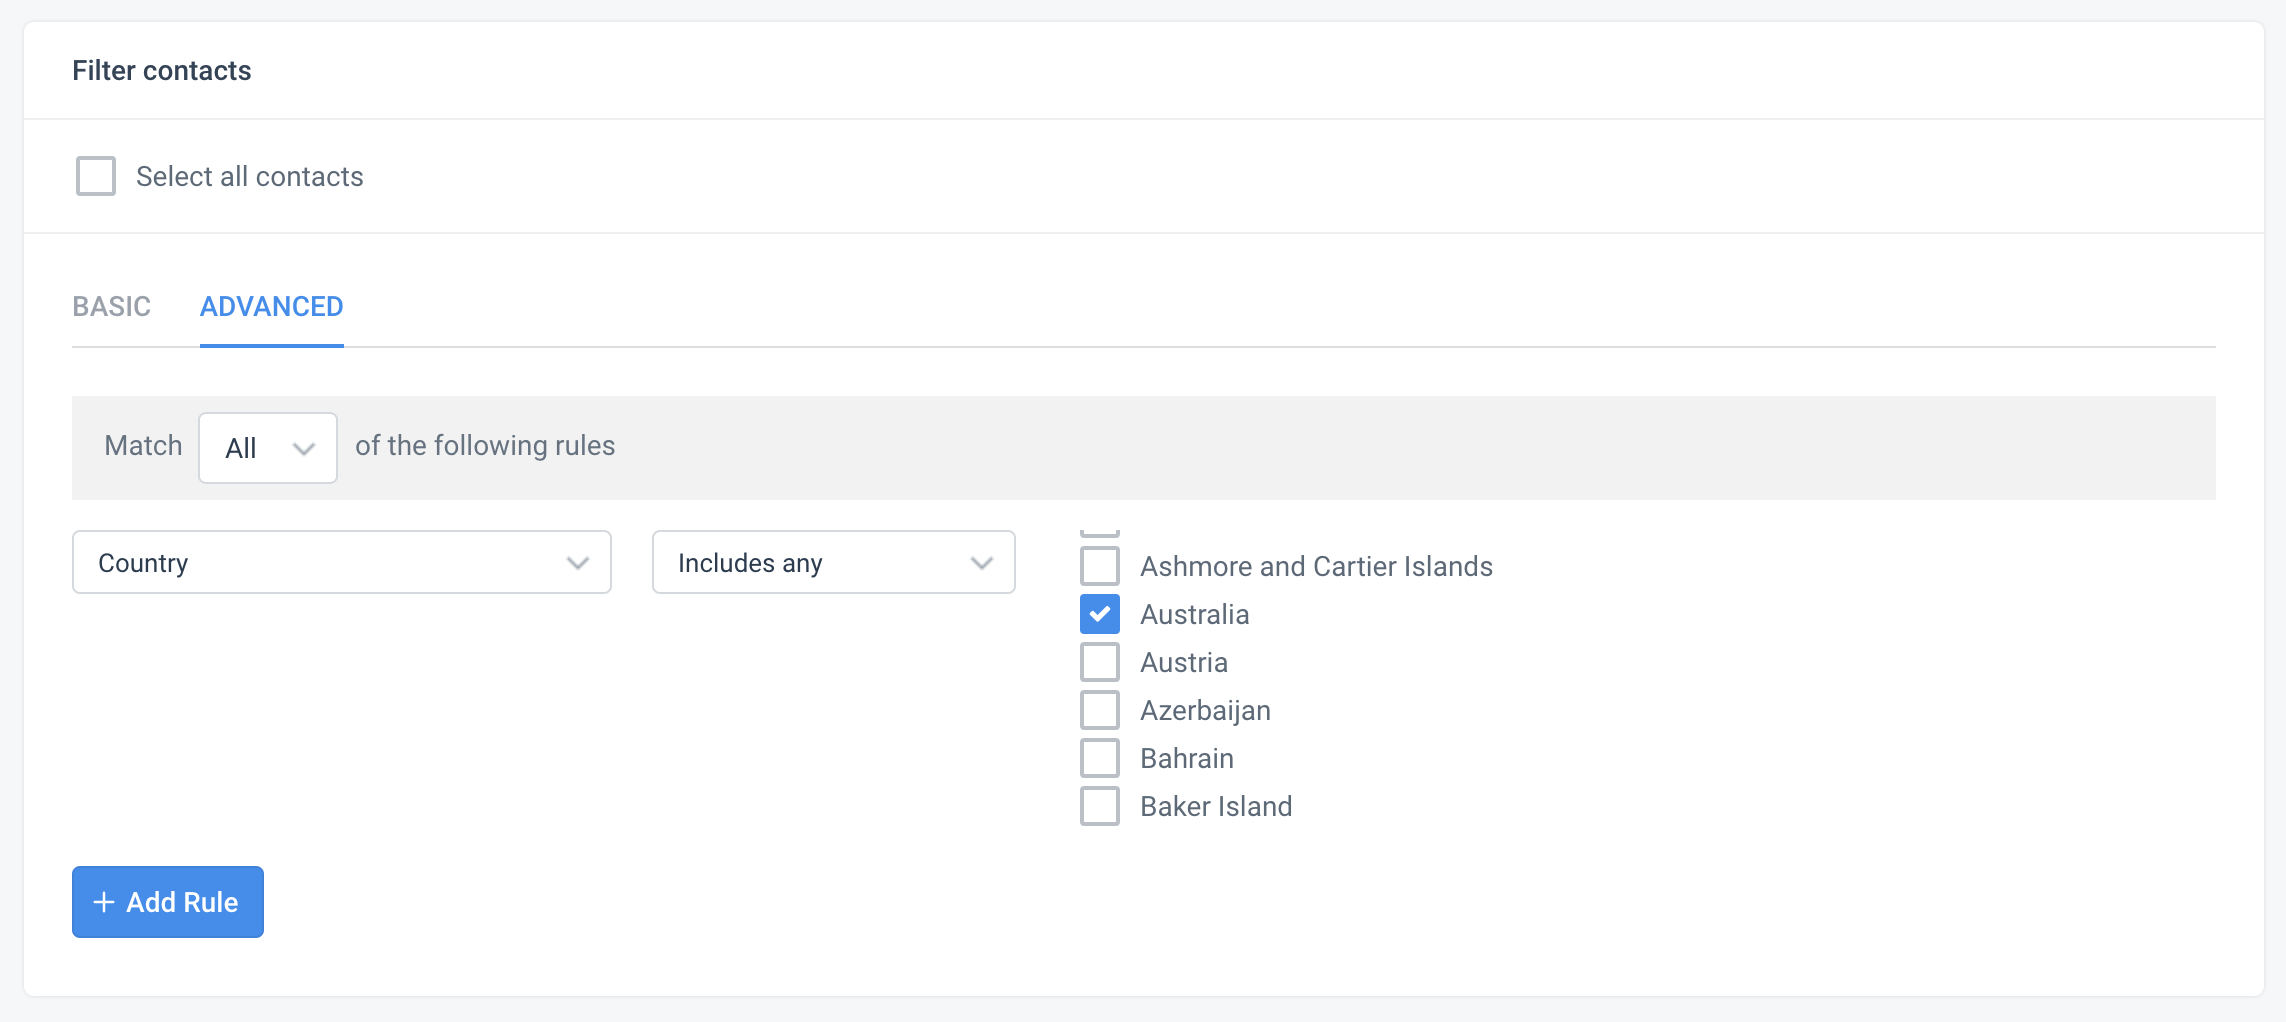
- Select your folder and list in order to locate the contacts in question – you can also select all contacts or select a certain type of contact (by status). Use the Advanced tab to filter your contacts using an advanced search, if required (as shown).
- When done, click Save Contacts.
- On the next screen, click Create Audience.
- Your data will now sync from our platform, to Facebook Business Manager. Once complete, the status section will show Connected.

Next Steps
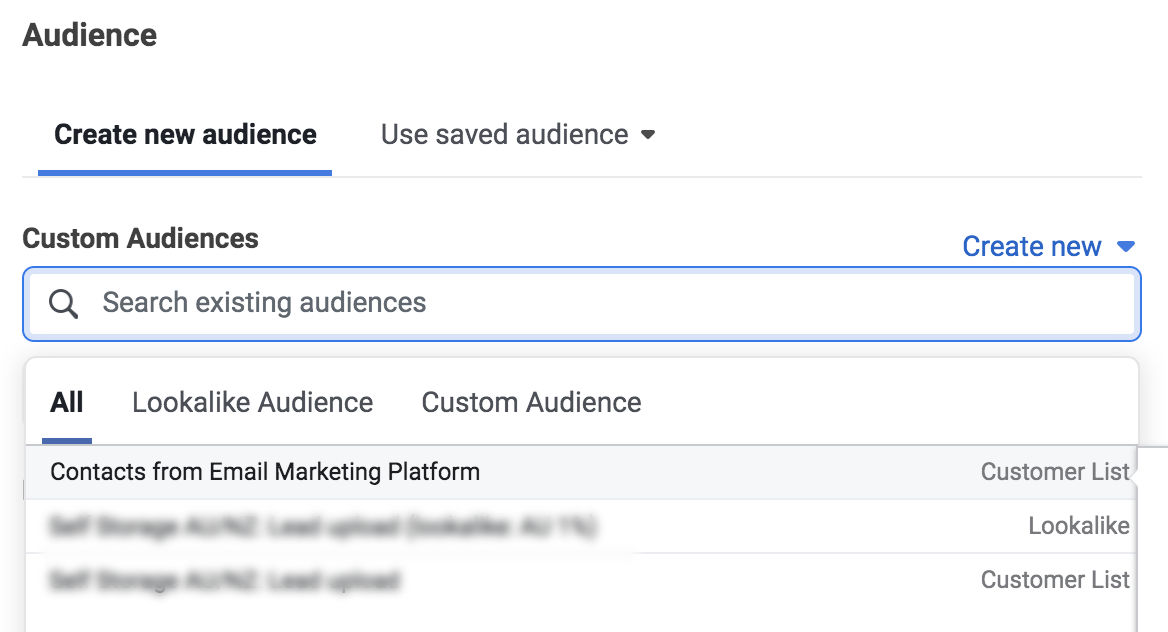
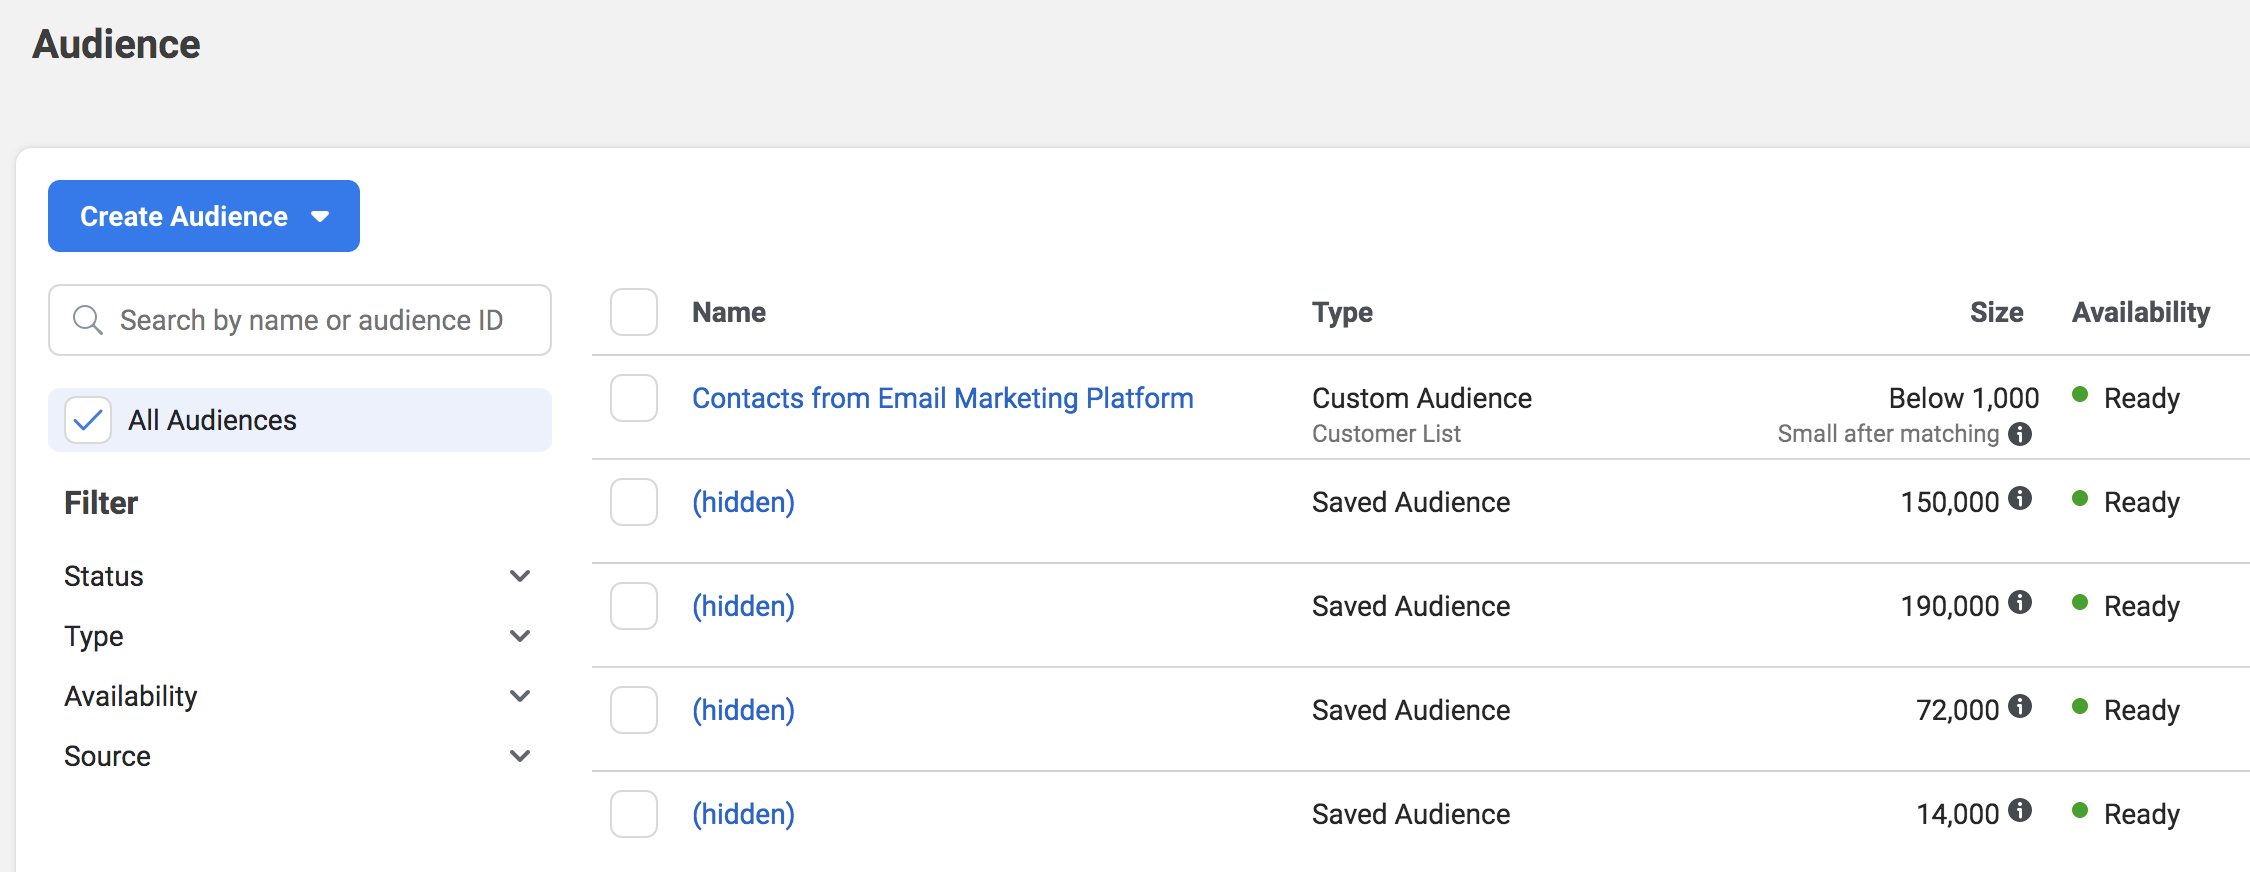
Now that you have sent your contacts to Facebook Business Manager as an audience, you can use the advertising tools in Facebook to serve ads to this audience. You’ll be able to find this audience in Facebook when you create your ads – under the Audience section.
The audience will be identifiable by the name you chose in Step 8, above.
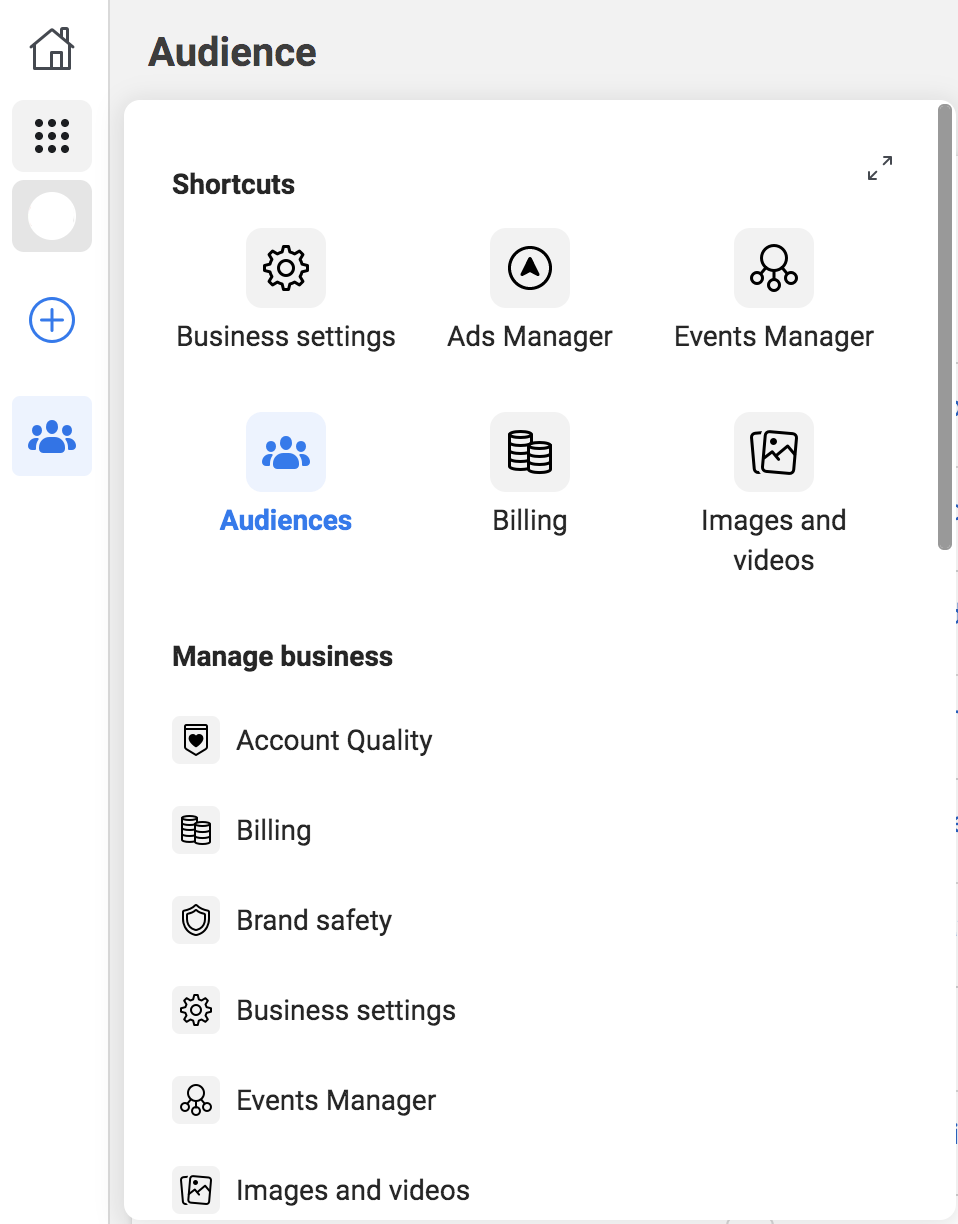
You can also directly locate the audience by clicking Audiences in the tools panel, as shown.
Furthermore, you can also use the tools provided in Facebook to create a lookalike audience based on your uploaded data, or use your Facebook Pixel to further target people who shopped, but didn’t checkout, with different ads – such as a promo code for free shipping or a further discount.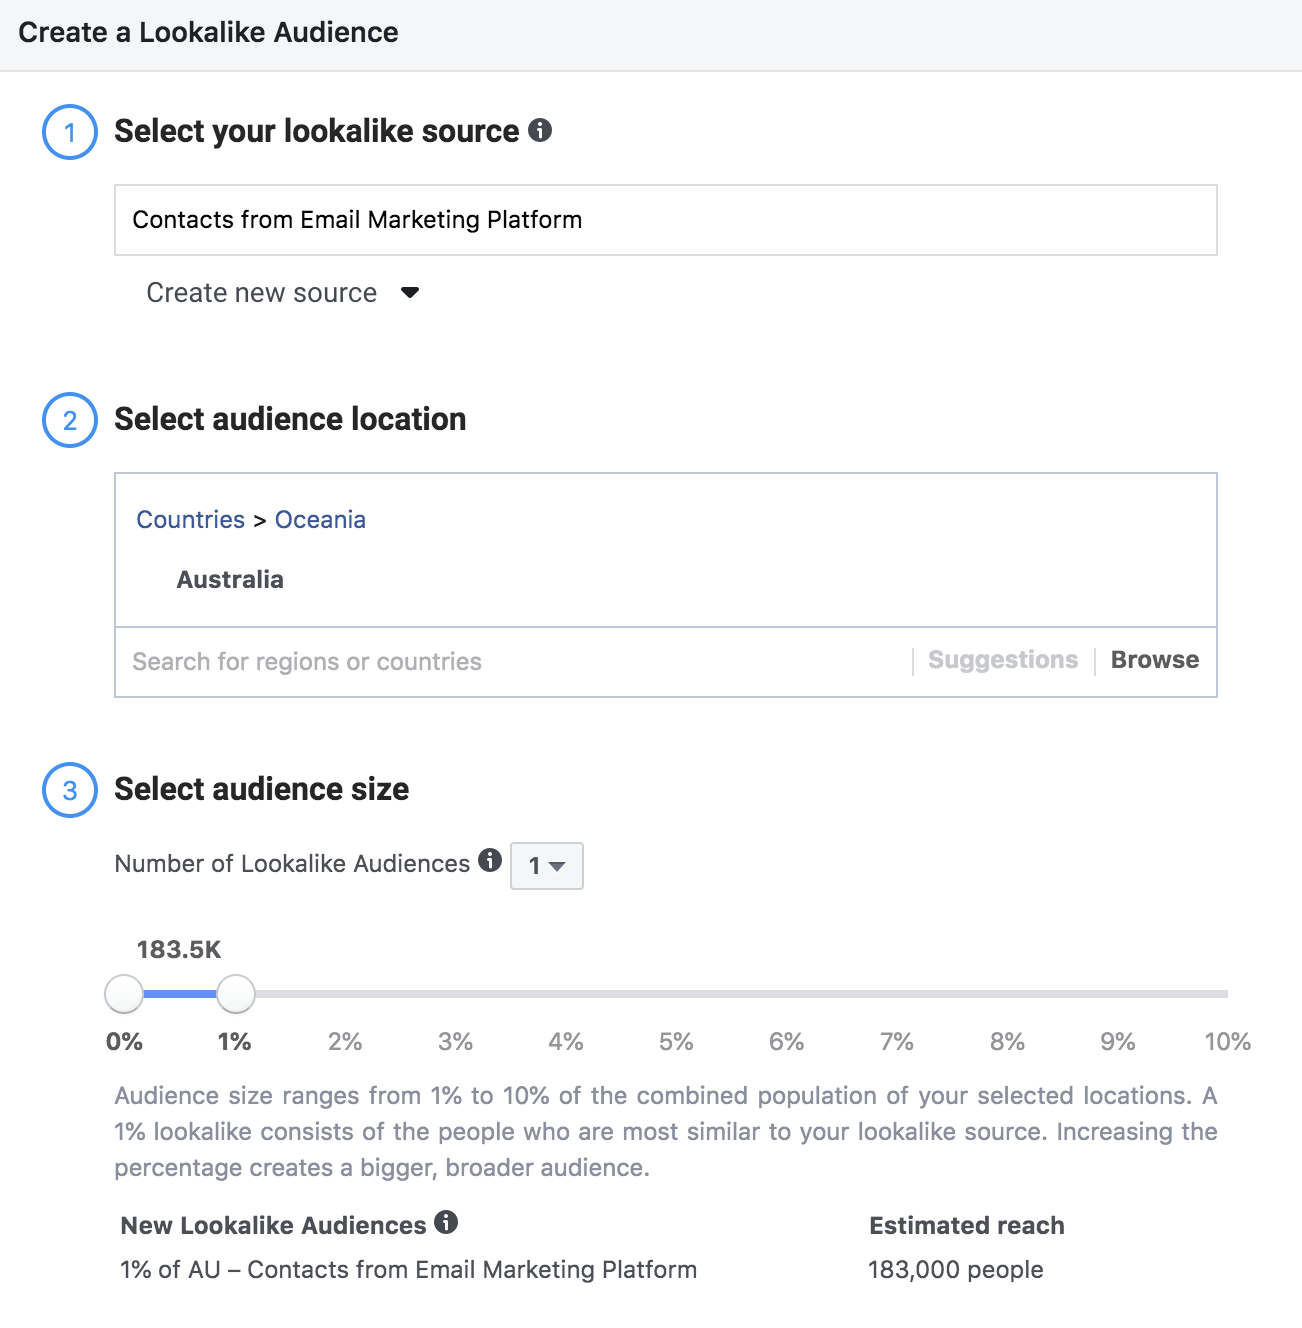
For more information, please consult your Facebook Advertising representative or a marketing agency.
